This year, I embarked on my first journey into the world of 3D printing with the Anet A3 3D printer. To learn more about this machine, check out our Anet A3 overview. The A3 is a solid unit for beginners, featuring a tried-and-true open source design. While available in kit form, my Anet A3 3D printer arrived fully assembled. With infinite possibilities ahead of me, I quickly booted up the machine and fumbled through my first print.
Behold, the fruit of my labors!
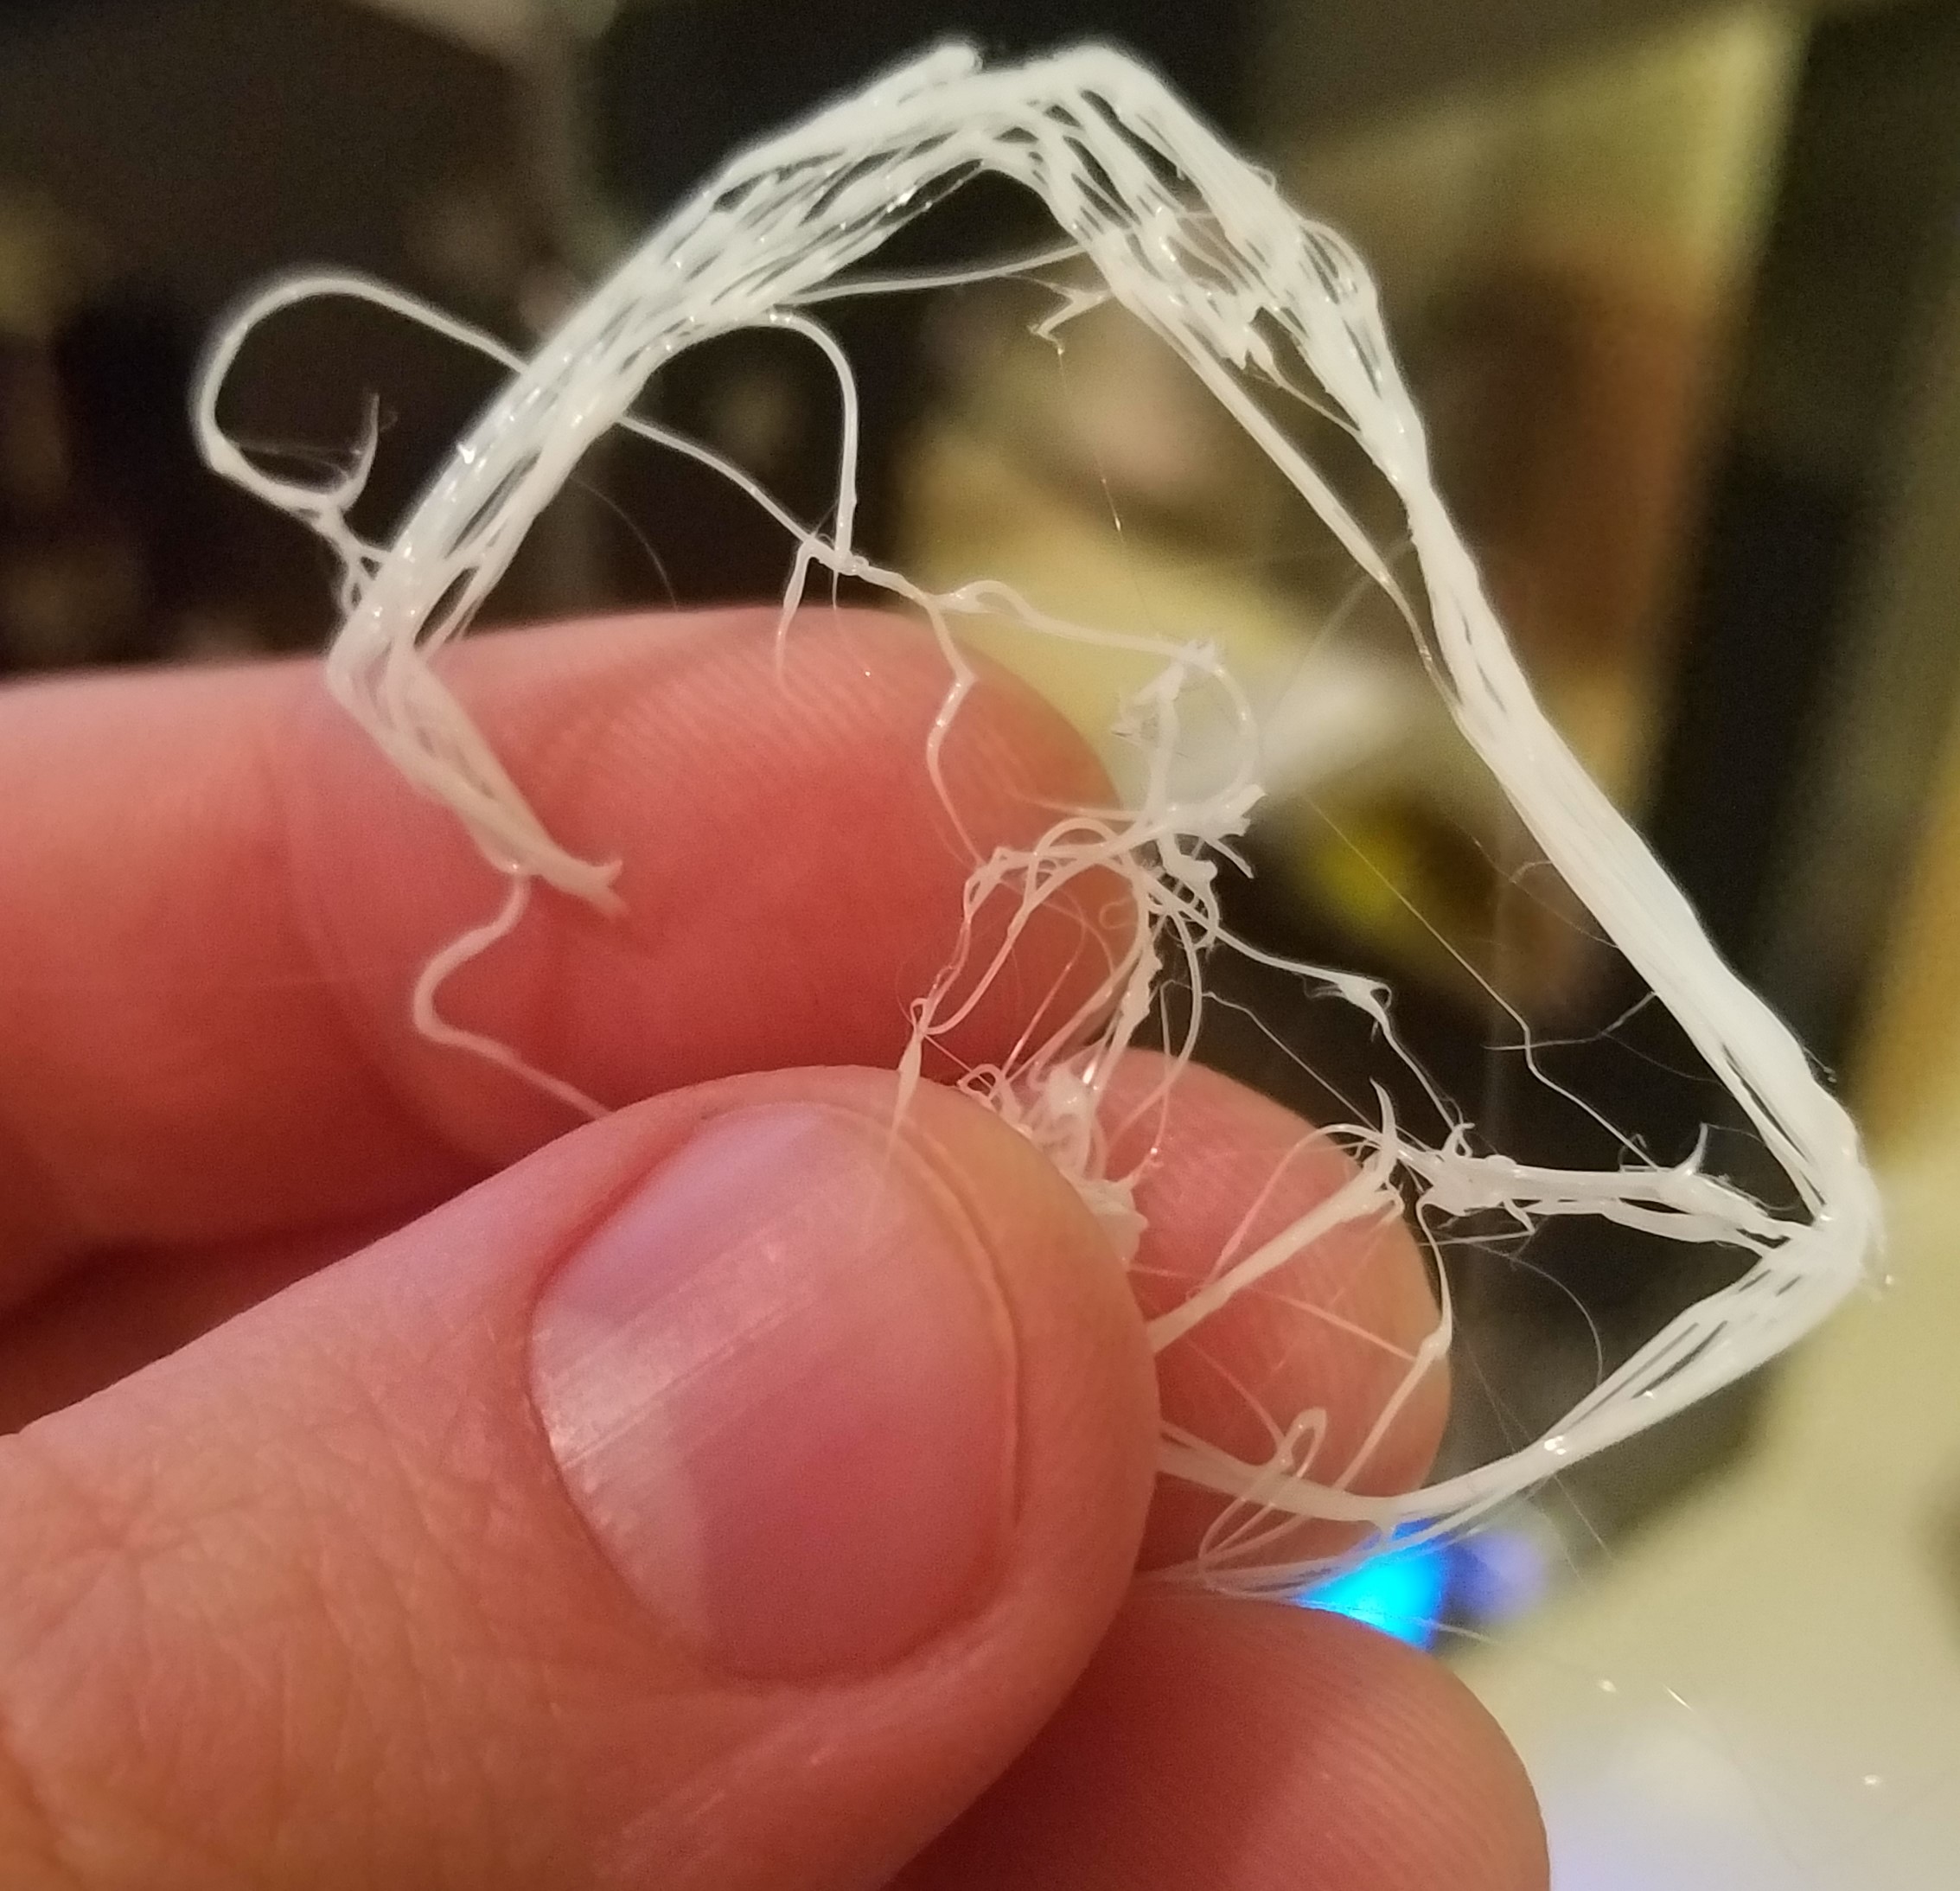
As you can see, my first 3D print didn’t go quite as expected. Even though my machine was pre-assembled and calibrated, there is only so much the manufacturers can control in shipping. Beyond that, there’s also the possibility that I may have bumped things during unboxing, or that my inexperience led me to select the wrong settings during printing.
After all the excitement and anticipation surrounding your first 3D printer, it can be a bit depressing when you’re left with a stringy plastic mess. But with a bit of determination and troubleshooting, you’ll be up and running in no time! Now that I’ve gone through the process myself, I’d like to share my tips for troubleshooting your first 3D printer.
While I could not possibly go into every issue you may run into, think of this guide as a starting point for your own troubleshooting endeavors.
Tip #1: Assemble your Supplies
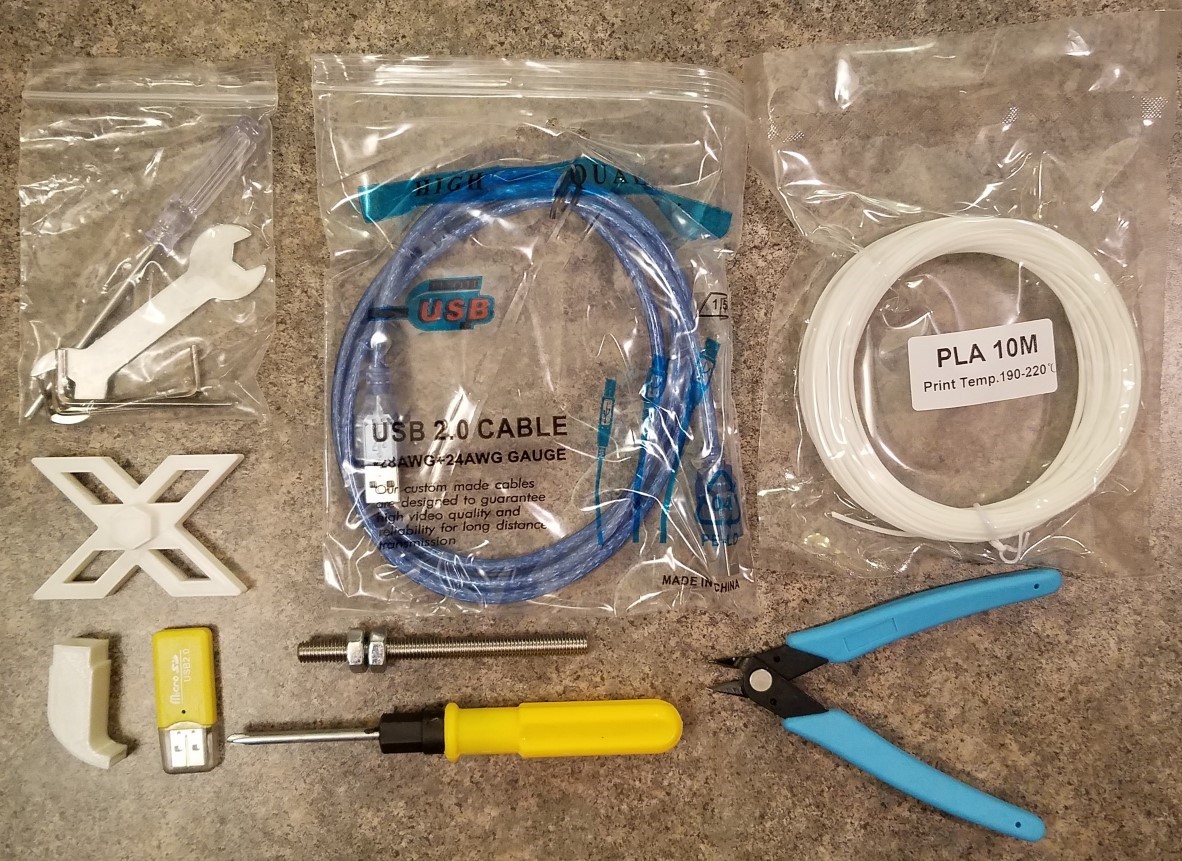
The very first step in troubleshooting your 3D printer is to make sure you have all of your supplies. Just like baking, it’s important to have all of your tools and ingredients ready to go. It is perhaps equally important to familiarize yourself with what exactly everything does.
Pictured above are the supplies that came with my Anet A3 3D printer. Take a look at the little white 3D printed piece in the bottom left corner. At first, I wasn’t sure what to use this for, but after taking the time to intently go over the contents of my A3 box, I realized that this piece attaches to a fan mounted to the extruding module, directing airflow to the nozzle. This allows the extruded plastic to cool more quickly. I noticed an immediate improvement on my next attempt.
Similarly, the X-shaped piece and bolt form a holder for the PLA filament. Installing this piece made for more manageable filament, and the printer had an easier time pulling the plastic through. Both of these stumbling blocks would have been easily avoided had I taken my time, rather than running head-first into my first print.
Tip #2: Read the Instructions
You may have noticed the USB SD card reader pictured above that was packed in with my A3. Not only is this a convenient tool for moving files back and forth between your computer and the A3 3D printer, but the included SD card itself is full of useful goodies. Along with sample objects to print and open source software, the card also includes two very useful documents.
If there’s one minor criticism I have for this machine, it’s that translation of documentation could use some work. Minor language issues aside, Anet includes a ton of helpful info with their machines. In addition to a thorough 61-page general instruction guide, Anet also included a separate 63-page troubleshooting guide covering numerous scenarios you might run into with your first printer.
“But what if I’m using a different printer?” you may ask. Chances are, these guides exist for your specific printer, either officially from the manufacturer or online, managed by other enthusiasts like you.
Tip #3: Learn About & Inspect your Components
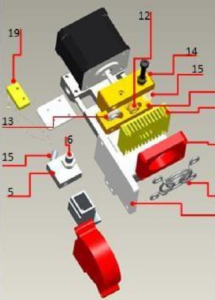 Remember that mess of stringy plastic? It turns out that was the combination of two separate issues. During my first few printing attempts, I noticed a loud clicking accompanied by strange, jerky movement. In order to fix this, I turned to my documentation to learn about the individual components.
We all dream of a future where 3D printers are completely plug-n-play, but the hard truth is that you just need to learn a bit about how these machines operate in order to successfully utilize them. Images like the partial exploded component view to the left may seem intimidating, but a rough understanding of the larger components is enough to tackle most issues.
After doing my research, I was able to find that one of the motors guiding X-Y movement on my printer had come loose in shipping. After repositioning the motor and tightening it down, the clicking stopped. Fingers crossed, no more amorphous blob of plastic!
It was with great excitement, then, that I started up another print immediately. My next print was decidedly closer to the shape I was expecting, but nevertheless, disaster struck again. Correcting the motor positioning only fixed one of the issues mentioned above. The motor was now moving as expected, but the plastic was not sticking to the build platform. That brings us to our next tip.
Tip #4: Learn your Measurements (a.k.a. Calibrate Everything!)
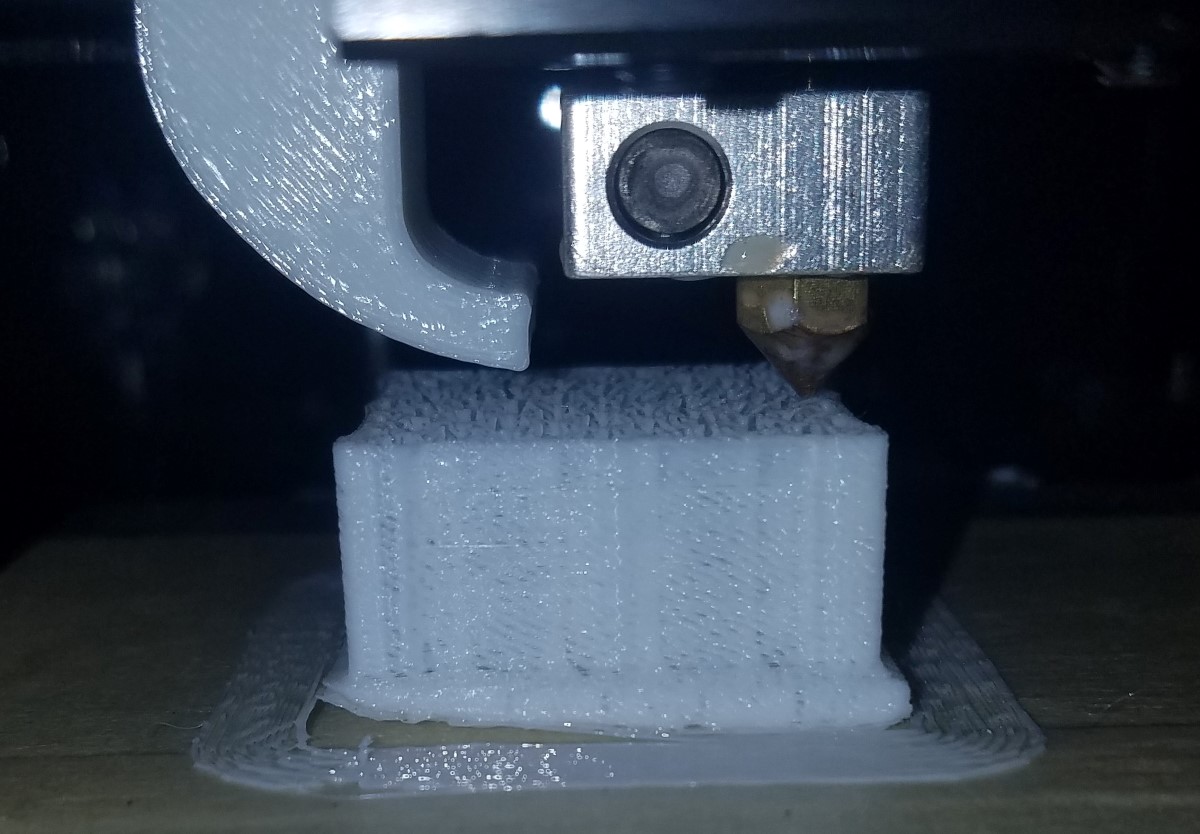
I cannot understate how important it is to learn your numbers when it comes to 3D printing. There are a variety of important numbers you need to keep in mind when printing, and there is no getting around getting them right.
Take a look at the image above, taken after several attempts at my first printed object with the Anet A3. You should notice the corners, particularly on the left, peeling up from the print bed. Getting even this far (and improving beyond) required dialing in the following numbers:
- Distance between extruder nozzle and print bed: Consulting my documentation on calibrating various parts of the printer physically was perhaps the best move I made during this process. A very small difference in distance between extruder nozzle and print bed can be make or break for a successful print. The same goes for print speed, flow, etc.
- Extruder temperature: Different types of material have different optimal printing temperatures. These temperatures can also fluctuate based on print environment (How much airflow is there? What’s the ambient room temperature?).
- Print bed temperature: If you have a heated print bed like the Anet A3 3D printer, you need to get that temperature in the sweet spot that works best for your environment.
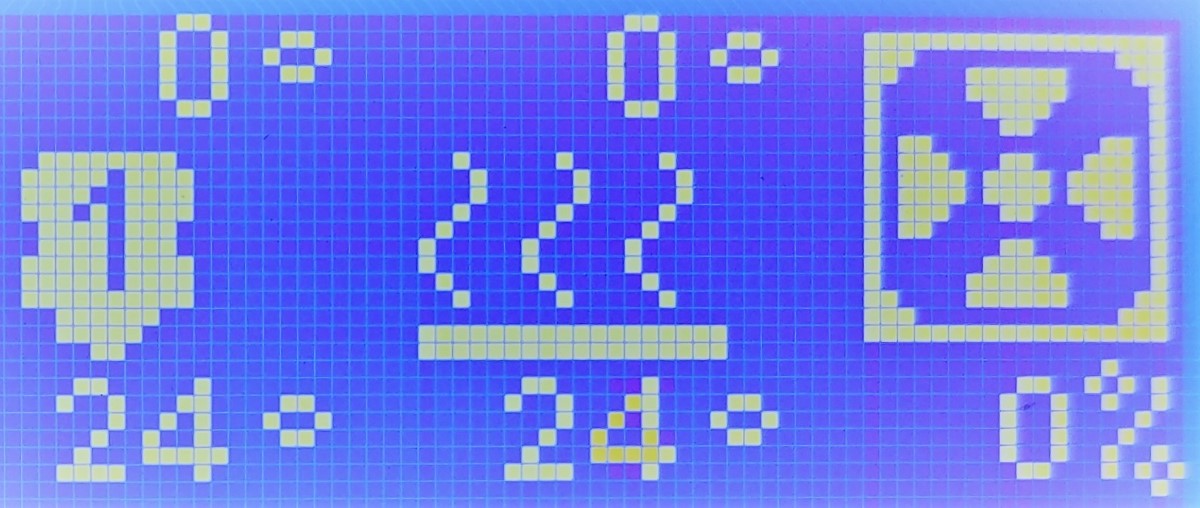
Play around with temperatures, speeds and tolerances. Give your machine a quick once-over, and you’ll be printing successfully in no time. And don’t forget: it is crucial to preheat!
Tip #5: Test Different Software
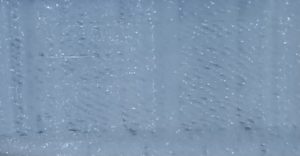 You may or may not have noticed the print image earlier showed this holey texture. This problem plagued my early prints. Everything seemed to be working, except that my 3D prints had holes in them, and overall inconsistency.
As it turns out, this kind of error can be introduced by not the printer itself, but rather the software that goes along with it. Slicer software is used to generate G-code, the instructions that tell your printer how to create each “slice” of your 3D object.
Anet’s A3, like most 3D printers, gives you choices when it comes to which software you use to generate the G-code it reads. And there are a lot of choices out there. Some popular options include Ultimaker Cura, Repetier-Host, MakerBot Print and Slic3r.
Changing slicer software (or settings within that software) may be enough to resolve some of your 3D printing woes. Not only are there more options than I could possible cover here, but many of them are open source or downright free. You can’t beat that price, and even if you do not run into this problem in particular, you may find software that you just enjoy using more.
Tip #6: Lean on the Community
In my opinion, the biggest tool you have as someone new to the world of 3D printing is the global community of fellow enthusiasts. 3D printing grew out of the maker scene, and its solid hobbyist foundation is an incredible benefit to people just like you, printing for the first time.
Thanks to the hard work of people on the internet, we all get access to an embarrassment of riches when it comes to every possible issue you may run into. Take solace in the fact that every roadblock you come across has likely been cleared by someone else who was generous enough to share their solutions online.
If my tips have been designed as sort of a diving board, the following resources represent vast pools of highly specific troubleshooting information:
- RepRap’s Print Troubleshooting Pictorial Guide: This straightforward Wiki-style guide breaks down various print issues by both cause and effect.
- Simplify3D’s Print Quality Troubleshooting Guide: This guide is recommended for its ease of use, featuring close-up images with multiple possible causes for each.
- 3D Printer Troubleshooting Guide by MatterHackers: Another great guide, but this time geared for the slightly more technically minded.
- 34 Common 3D Printing Problems by All3DP: If you prefer your guides in prose form with more descriptive text, check out this guide by All3DP.
If these guides don’t quite cover your exact issue, there are several active forums for talking about 3D printing and seeking help from the community. Check out Reddit’s /r/3DPrinting, or sites like 3D Hubs and the excellent 3D Print Board.
Tip #7: Enjoy the Fruits of your Labor
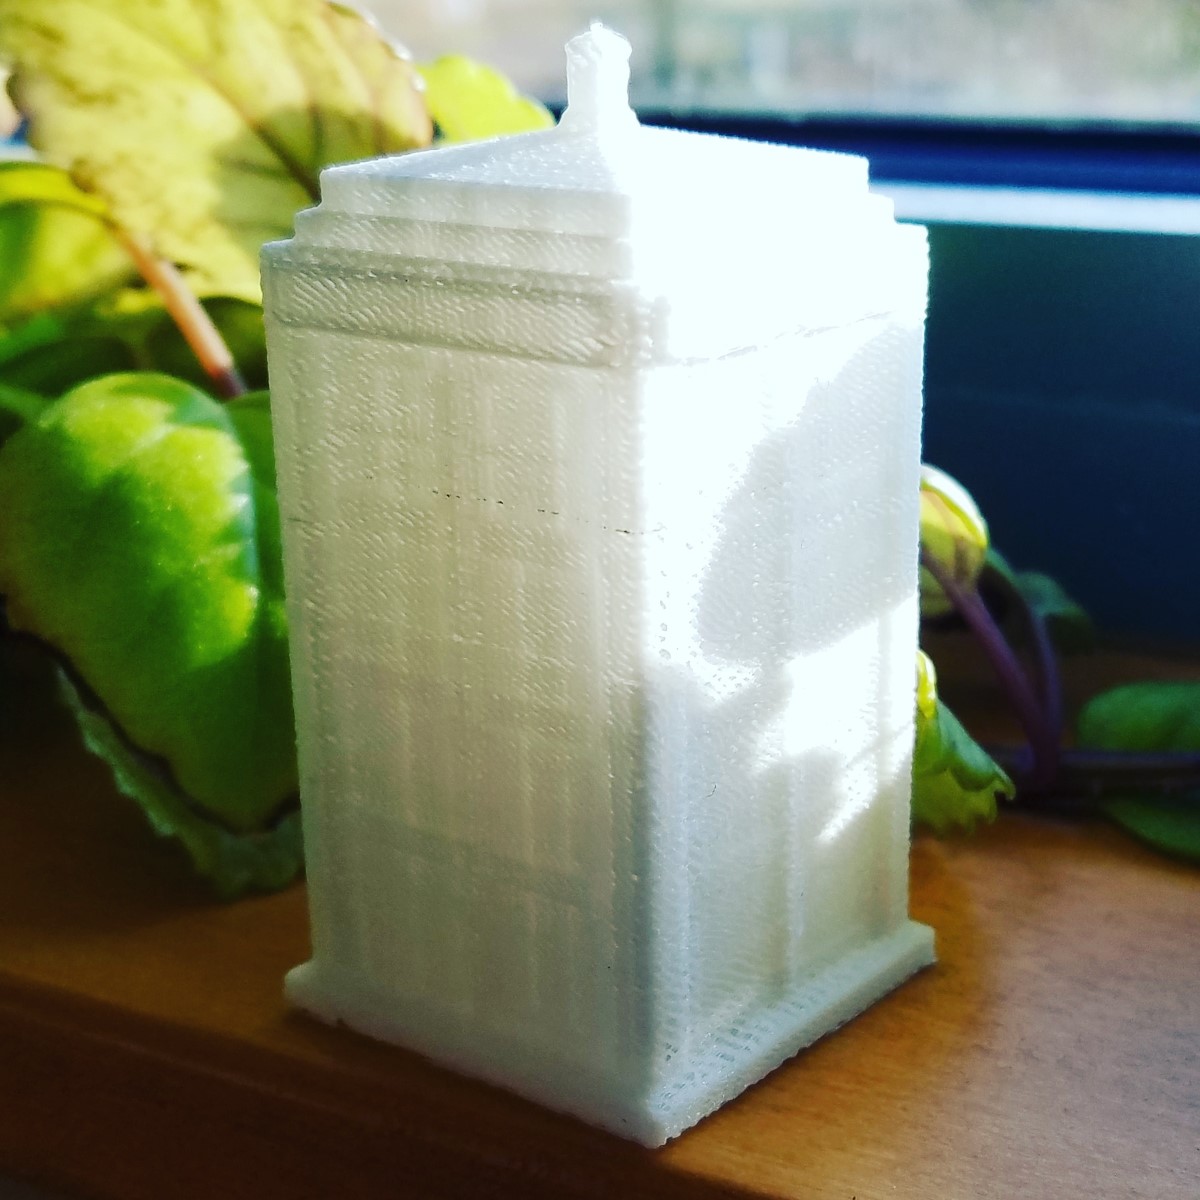
Et voilà! Okay, so it’s not quite perfect (you’ll notice this print is from before fine-tuning my slicer software), but the fact remains: I made this. I took some filament, heat, software and time, and turned them into a real-life object I can hold.
The Anet A3 3D printer has opened a new world to me. While 3D printing is becoming more and more accessible, it still takes a bit of work. Even when your print fails, be proud of the progress you have made and the things you have created!
It is not hyperbole to say that 3D printing has changed—and will continue to change—aspects of technology and human life permanently. Now, you get to have a little piece of that history in your home. Enjoy it!
