
The rise of 3D printing and rapid prototyping has many people thinking about one day replicating something in their home. Service companies, like Shapeways, Thingiverse and RedEye, exist to get models into the hands of printer owners but there is another way… create it yourself. To take an idea from napkin sketch to 3D part file ready for printing some type of CAD (Computer aided design) software is needed. Many programs exist for this, one of which is Solid Edge ST.
When I was asked to review Solid Edge ST 5 I was excited to see how the learning’s of 7+ years with Solidworks would transfer to Synchronous Technology (ST). I did not expect to become an expert in Solid Edge immediately, it is of course a powerful and robust piece of software, but after a few weeks using the software I was surprised how easy it was to work with. To get up to speed I ran through some of the built in tutorials and then had a hands on training trip with 3 Siemens employees. (Portions of this article appear on CADDigest.com who helped organize the review and training). In the end I found I could use ST 5 for everything I needed and in some instances it surpassed my expectations.
Installation of Solid Edge
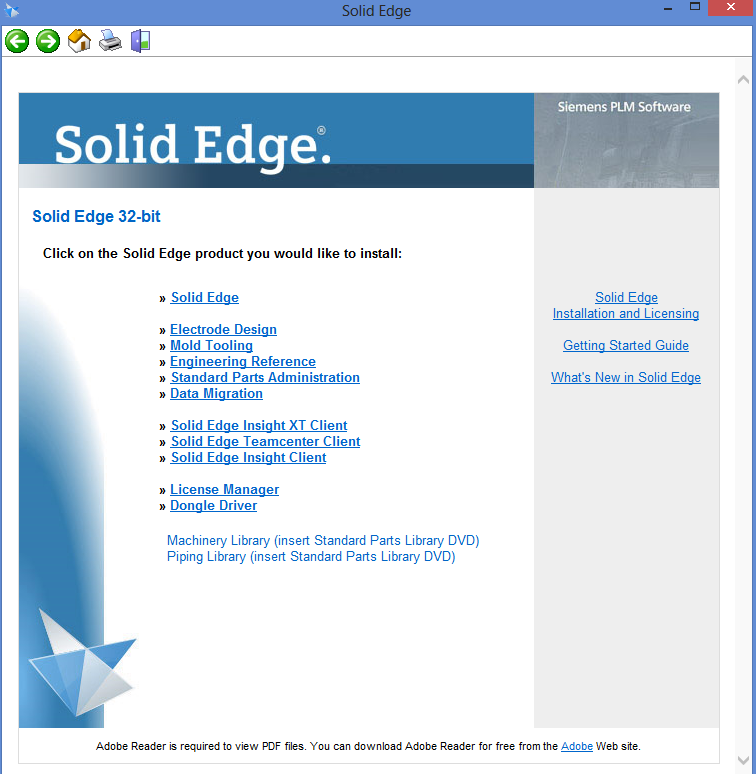 |
| Figure 1 – Installing Solid Edge |
Although not quite as easy as getting an app onto a phone, installation of Solid Edge was very smooth on Windows 8. I was able to download and install Solid Edge with only a handful of clicks on a Confirm button. ST 5 is stable and there is no indication new builds will be anything but. Over a month long review I never managed to bring my computer to a grinding halt, that’s not something I can say for every CAD package.
Layout and User Interface
Given the MCAD systems are so complicated the layout and user interface are critical. With Solid Edge many of the toolbars and menu buttons are something of an industry standard and though first time users will have some clicking around to do things are generally intuitive. Here is a quick look at the primary toolbar in Solid Edge compared to Solidworks.
| Figure 2- Solid Edge Toolbar |
| Figure 3 – Solidworks Toolbar |
The Solidworks toolbar is dynamic, changing to reveal different selections depending on what is currently selected. Figure 3 shows the “Sketch” toolbar which is the first part of creating any part. Figure 2 shows the Solid Edge default toolbar, which has all of the same sketch items. This is just a sampling of the available buttons but when starting with Solid Edge I realized that simply having the same basic icons and options made finding and editing things very easy. Menus and features can be hidden or prominently displayed and and after a few days of using a certain layout new habits are easy to form.
Modeling and Editing in Synchronous
My main concern with Solid Edge was how easy it would be to design different parts and assemblies. Solid Edge uses Synchronous Technology, a live editing system different from history based CAD systems. Fancy names aside, editing existing files in Solid Edge is very different from Solidworks. Admittedly this made me nervous that I would not be able to figure out how to use the software but I found Synchronous Technology to be clear and user friendly. It made it easier to work with imported data and shared files while still providing the power to create new designs from scratch. After working with Solid Edge for a bit I even began to change my thinking about how to model a part.
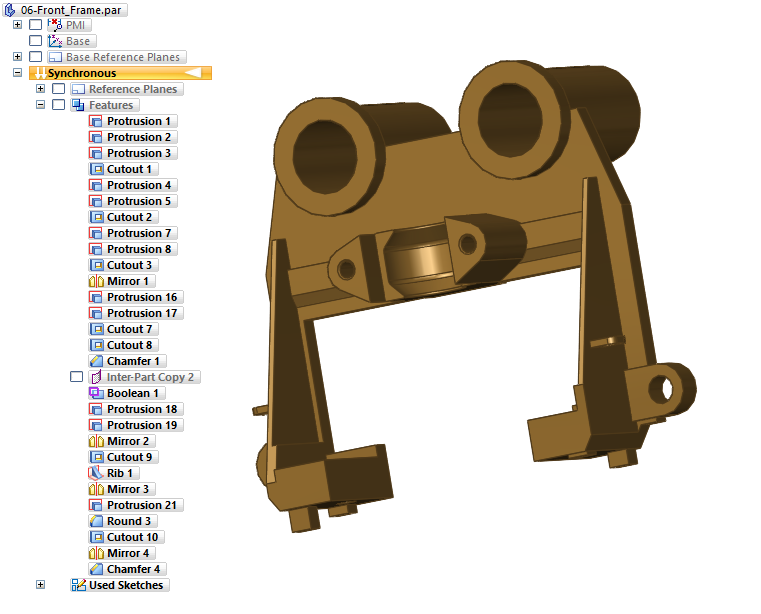 |
| Figure 4 – Solid Edge Feature tree |
The major difference between Solid Edge ST and history based modeling is that there is no consideration for the order of features. Figure 4 shows a Solid Edge part. On the left a series of commands, generally referred to as the feature tree in history based models, show the order of features used to create the part geometry. Experienced Solidworks users are familiar with this and will have stories about all of the times the bottom of that list is grayed out or lit up in red. That is because of rebuild errors created by changing one of the first items in the list. This is unintuitive and annoying especially when the first and last items may have nothing to do with each other. Removing ordered features is what started to change my thinking about how to model a part.
With history based modeling consideration must be given to how the part rebuilds and what may change. If there was something specific I knew was undefined, or likely to be altered during design iterations, I would make sure that it appeared at the bottom of my feature tree. That way if a small change has to be made the part does not have to rebuild entirely and the chance for rebuild errors is kept to a minimum. With Solid Edge ST this is not a concern.
All of this good news comes at a price. The shift in thinking about how a model is created is not an easy shift. Creating new habits means there is a learning curve. Coming from a similar system makes things easier but if you are thinking of changing from Solidworks to Solid Edge it would be wise to conduct proper training and allow for extra time in the first few projects.
Communicating Designs
Communicating designs is also important and often this means creating an engineering print. In the past I have worked on a number of projects where the only deliverable was a 2D engineering print and the 3D model was irrelevant. I am sure other engineers can relate to this.
When creating prints with Solid Edge I began to realize the difference between history based modeling and Synchronous Technology. An engineering print shows what a part should be, not how it got to be that way. If a fillet feature comes before a hole feature in a feature tree the engineering print still looks the same. Why then does the order of the features matter? In Solid Edge the software understands what the designer understands, the order of how something is created does not matter in the computer (though to a machinist this is still a big deal).
Final Thoughts on Solid Edge
At this point I have spent nearly 50 hours working with Solid Edge ST 5, including 12 hours of direct training with three Siemens employees (that’s 36 trainer hours!). That pales in comparison to my experience with Solidworks but surprisingly I still feel like a proficient user of Solid Edge.
My suggestion to anyone who has the opportunity would be to try out Solid Edge for a bit. Especially if you are coming from other designs systems, getting up to speed does not take all that long and the differences in Solid Edge that come from Synchronous Technology can be beneficial for both novice and experienced users. For some the change is unnecessary; if you are creating simple designs and are happy with your CAD system then there is no reason to make the switch and if you are a surfacing specialist stay away from Solid Edge. On the other hand if you are constantly working with imported data and making edits to models created by others Solid Edge ST 5 may be able to reduce the time spent fixing errors and instead let you focus on engineering and design.
I would like to read a review and critique of SE from a draughtsman perspective.
I think this review is apt to suit a component designers interest.