Weldments are a part of the Solidworks software that are intended to be used for parts that will require welding. It leads to reason then that small details, such as welding gaps in lengths, should be handled in an easy and intuitive fashion. Sure enough, one of the built in options when inserting weldment members is the option to include a gap between the components.
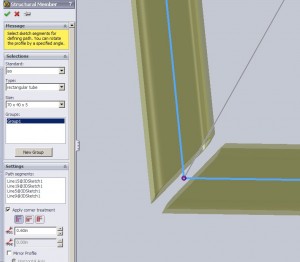
In this first image the feature manger can be seen with a value input for G1. This value inserts a gap between all member in the same group. Because it is intended to be a weld gap there is an upper limit on the value of this field which is set to one inch. If a member needs a larger gap one can be created manually with the cut tool.
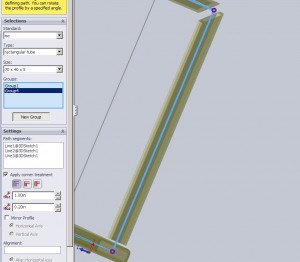
In addition to a gap between members of the same group there is an option for a gap between differing groups. This box will only be editable when the it is potentially applicable. For example the option will always be grayed out when editing “Group1” or the first group of weldments.
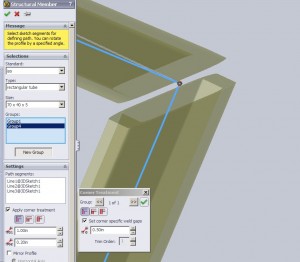
The values of intra and inter group members do not have to be equal but the feature manger values will effect all edges in the grouping. If a single joint requires a larger or smaller gap it must be addressed separately. This can be done by clicking the purple dot located at the joint vertex. Once clicked a separate window will appear in the graphics area. Marking the “set corner specific weld gaps” option will allow editing of the gap value field
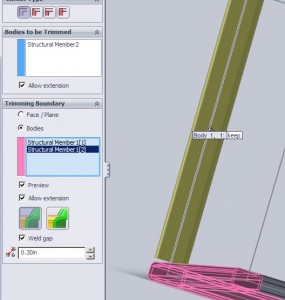
The methods above work primarily for weldment members created in the same feature. Where a joint is made from members of differing profiles, or otherwise created in different features it is not always possible to control the gap during the member creation. Sometimes when joints leave overlaps or comlicated corners a trim is required to properly model the component. When using the trim tool and option again exists to control the weld gap.
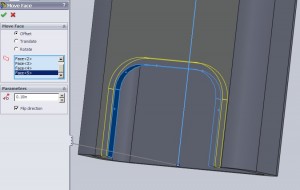
This option is only available when the cut type is a “Simple Cut”, when the “Coped” cut option is selected the filed will not appear. To create a gap for a Coped end part there are other options, specifically the “Move Face” tool tend to work (Insert>Face> Move). Other manual cuts will also work to place a gap in the weldment.
These small gap details will surely be a part of any CSWP exam and knowing how to quickly alter each joint and value will help pass the exam. For more review see the main CSWP Exam review post.

